See our new Wiki!
This wiki is in legacy mode. Check our new wiki here!
Videogames Blender for game engines
Blender 2.8 tested!
Addons
- TexTools for Blender
Recommended settings
Settings for Blender 2.8x
- Interface:
- Edit > Preferences > Navigation > Auto depth: turn on for a better navigation between closer and far objects.
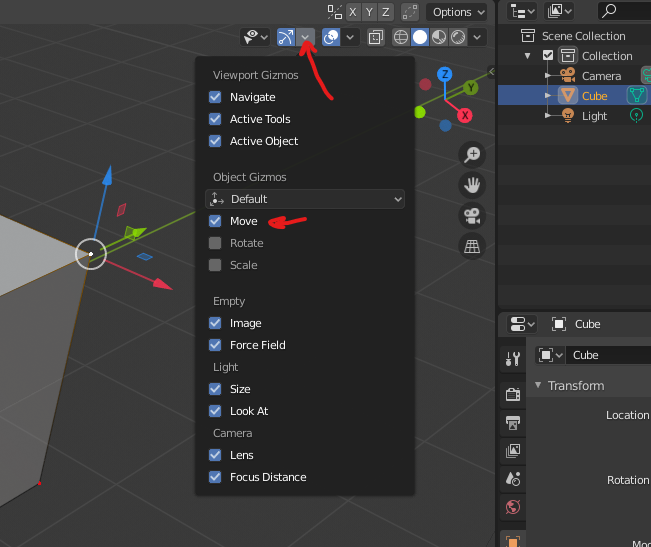
- To enable the object gizmos, search for the Show Gizmo menu located at the upper right corner of your viewport.
Settings for Blender 2.7x
- Interface
-
View manipulation > Auto depth: turn on for a better navigation between closer and far objects.
-
Activate Layer managment add on
-
Better performance: System > anisotropic filtering > VBOS
-
- Viewport
- [ N ] menu:
- GSL > Backface culling to show only visible faces (not as if always they were are double-sided).
- Texture solid to display texture models in solid mode.
- [ N ] menu:
General Hotkeys
| Action | 2.8 | 2.7 |
|---|---|---|
| Tool Shelf | T | T |
| Tool Shelf window | Shift + Space | |
| Expand current Viewport | Ctrl + Space | |
| Sidenavbar (AKA Viewport menu) | N | N |
| Edit / Object mode | Tab | Tab |
| View all objects | Home | Home |
| Focus selected object | Numpad . | . |
| Focus and hide everything else | / | |
| Pilot view mode | Shift + ` | Shift + F |
| 4 view screen (top, front, right, perspective) | Ctrl + Alt + Q | Ctrl + Alt + Q |
| Snap 3D cursor / Selection | Shift + S | Shift + S |
| Display mode | Z | |
| Display mode solid | Z | |
| Display mode textured | Alt + Z | |
| Proportional editing mode | O | O |
| Apply | Ctrl + A | Ctrl + A |
| Clear / Undo scale | Alt + S | Alt + S |
| Repeat last command | Shift + R | Shift + R |
| Add | Shift + A | Shift + A |
| Active tool menu | F6 | |
| Quick Access Menu | Q |
Object mode
Transformations work mostly as edit mode (see below). Always apply rotation and scale [ ctrl + A ] before animating or exporting.
Edit mode
Press tab to enter edit mode
General
- Transforming
- Reset position [ alt + G ]
- Move [ G ]
- Vertex slide [ G + G]
- Scale [ S ]
- Rotate [ R ]
- 2.8: Press again for toggling pivot between local and 3D Cursor.
- Options
- Select transformation axis [ X, Y or Z ]
- Lock transformation axis [ shift + (X, Y or Z)]
- Snapping
- Toogle snap [ shift + tab ]
- Snap on the fly [ ctrl ]
- 2.8 sets the pivot point as your 3D by default. On 2.7 you can change the pivot point at the bottom of the Viewport, next to Viewport Shading.
- Selecting
- Box [B]
- Un-select [ B + Middle mouse ]
- Circle* [C]
- Un-select [ C + Middle mouse ]
- Misc
- Mesh select mode
- 2.8: [ 1, 2 or 3]
- 2.7: [ ctrl + tab]
- All [ A + A ]
- Invert selection [ ctrl + i ]
- Loop [ alt + right click ]
- Ring loop
- 2.8: [ ctrl + alt + right click ]
- 2.7: [ ctrl + alt + click ]
- Select similar [ shift + G ]
- Mesh select mode
- Loose parts
- Current selection [ ctrl + L ]
- Current mouse pointing location [ L ]
- Box [B]
Modeling
- Common Tools
- Extrude [ E ]
- Bevel [ ctrl + B ]
- Inset [ I ]
- Mirror [ ctrl + M]
- Separate [ P ]
- Join [ ctrl + J ]
- Duplicate [ shift + D ]
- Cutting - Adding extra elements
- General
- Subdivide
- 2.7: [ W > subdivide]
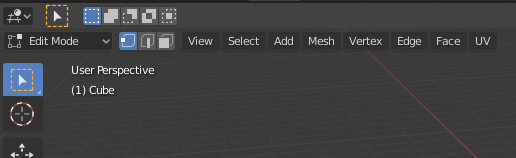
- 2.8: On the edit menu (top left - on edit mode) click on Edge > Subdivide.
- Add ring loop [ ctrl + R ]
- Face menu [ ctrl + F]
- Edge menu [ ctrl + E]
- Vertex menu [ ctrl + V]
- Add face [ F ]
- Add faces and edges between vertex [ J ]
- Generate center vertex and faces
- 2.7: [ alt + P ]
- 2.8:
- [control + F] > Poke Faces.
- On the edit menu (top left - on edit mode) click on Face > Poke faces.
- Subdivide
- Knife [ K ]
- Center [ ctrl ]
- Angle constraint [ C ]
- Cut through [ Z ]
- General
- Removing extra elements
- General
- Remove doubles [ W > remove doubles]
- Remove or dissolve [ X ]
- Merge [ alt + m ]
- General
- Curves
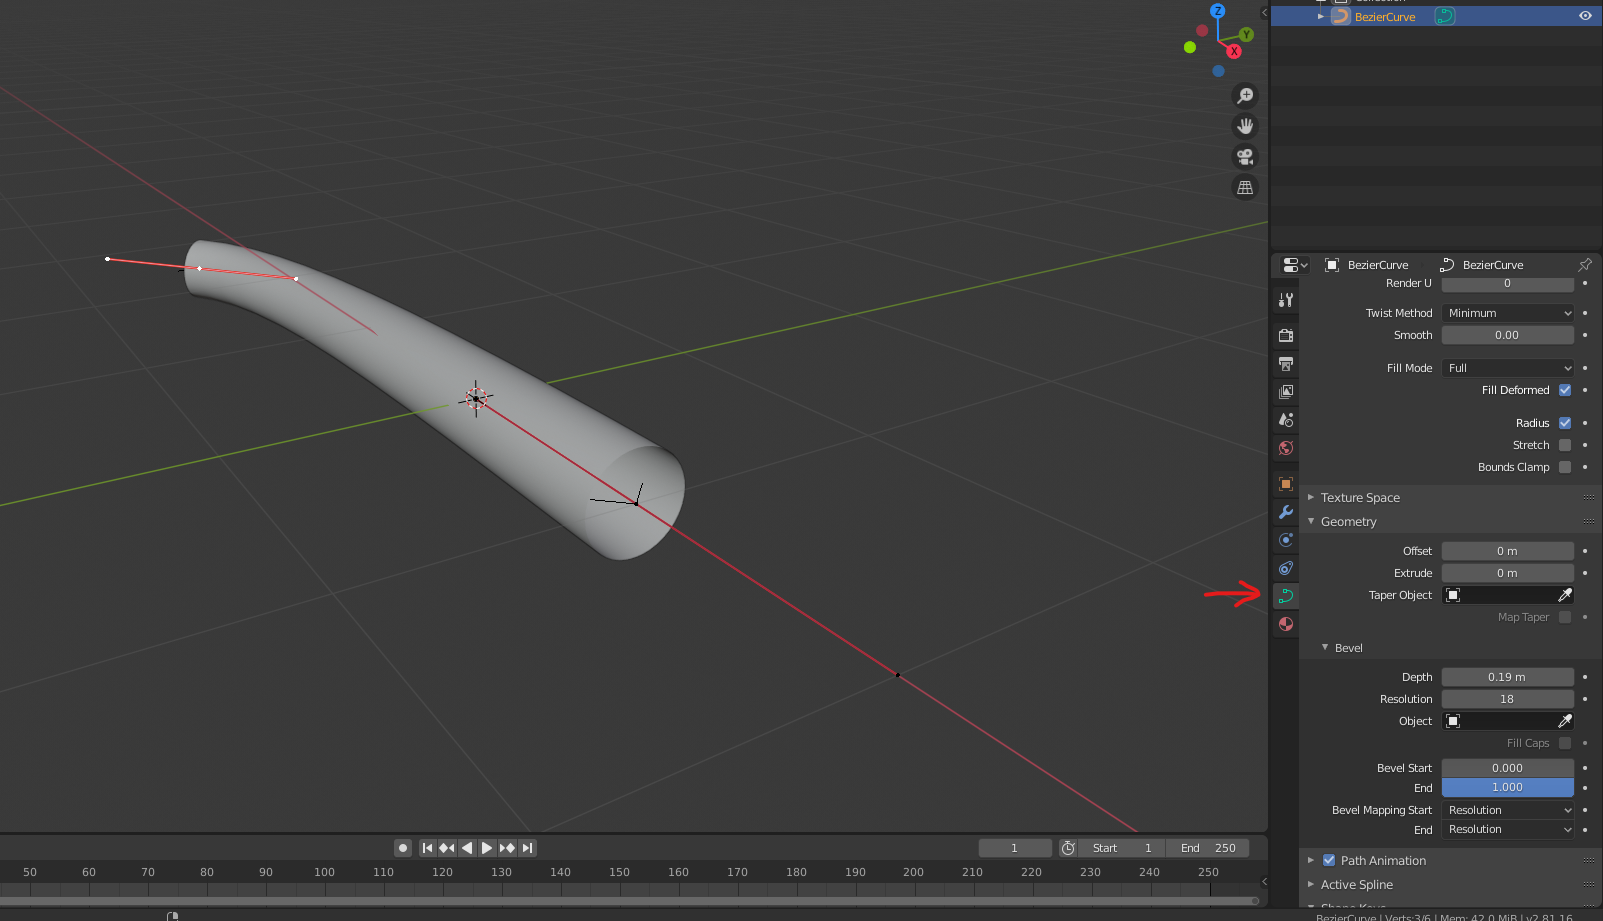
Use Bezier curves to create cable-like models:
- Settings
- Bezier curve data:
- Fill: Full.
- Bevel: Custom value to set width.
- Resolution: Custom value to set detail.
- On 2.8 you’ll find Bezier Curve settings under the right-side main menu in Object Data Properties (a green icon):
- Bezier curve data:
- Edit mode
- Select All and Set handle type to automatic before modeling [ v ]
- Object mode
- 2.7: Convert to mesh [ alt + c ]
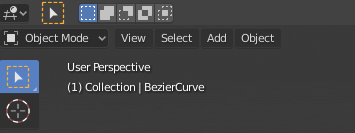
- 2.8: Convert to mesh by going to the Object Menu (top left menu with Object Mode open) then go to Object > Convert to mesh from Curve….
- Settings
Additional
- Shading
- Face options [ ctrl + f ]
- Shade Smooth: smooth selected faces
- Edge options [ ctrl + e ]
- Mark sharp: “removes” smooth of an edge
- Face options [ ctrl + f ]
Workflows! Here are some common workflows for game creation assets.
Smoothing
-
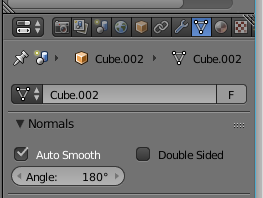
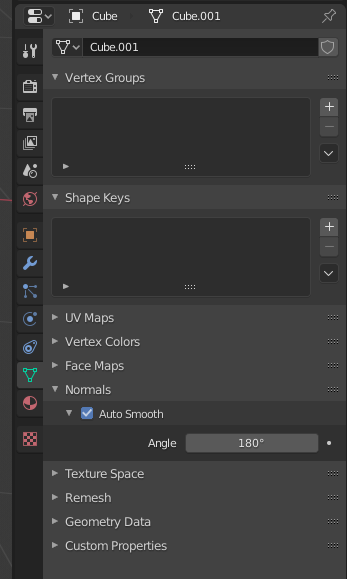
Activate Auto Smooth at 180º.
-
2.7: Object data tab > Normals:
-
2.8: Right menu under Object Menu (top left menu with Object Mode open) then go to Object > Normals.
-
-
Select faces and use Shade Smooth using [ ctrl + F ]
-
Mark sharp required edges using option at [ ctrl + E ]
-
Note: Edge Split Modifier can be used to achieve the same effect as Auto Smooth.
High-poly (non-destructive)
-
Select all and remove marked as sharp founded on [ ctrl + e ].
- Select edges where you want to add extra polygons:
- Select them manually.
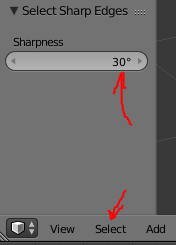
-
Or check Sharp edges from select menu and configure angle until it selects the parts where you want to add polygons.
-
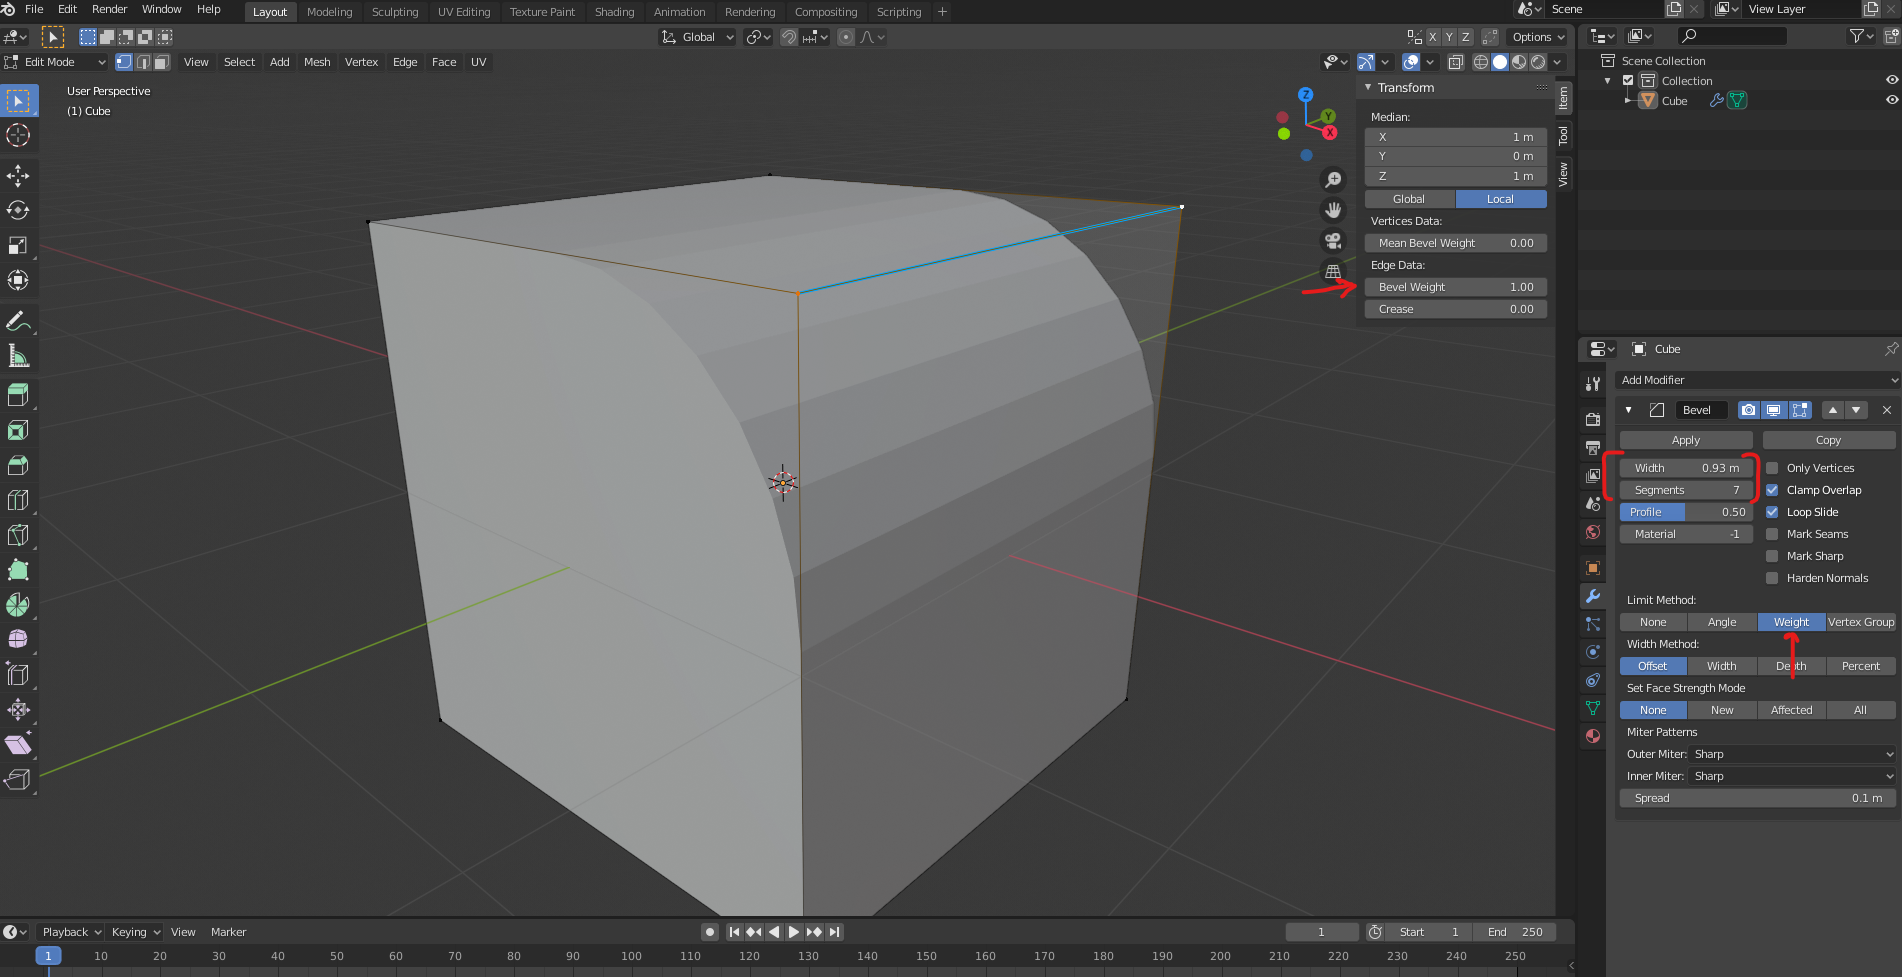
Use bevel modifier with a 1.00 of weight at edges data and play with width and segments values.
- 2.7:
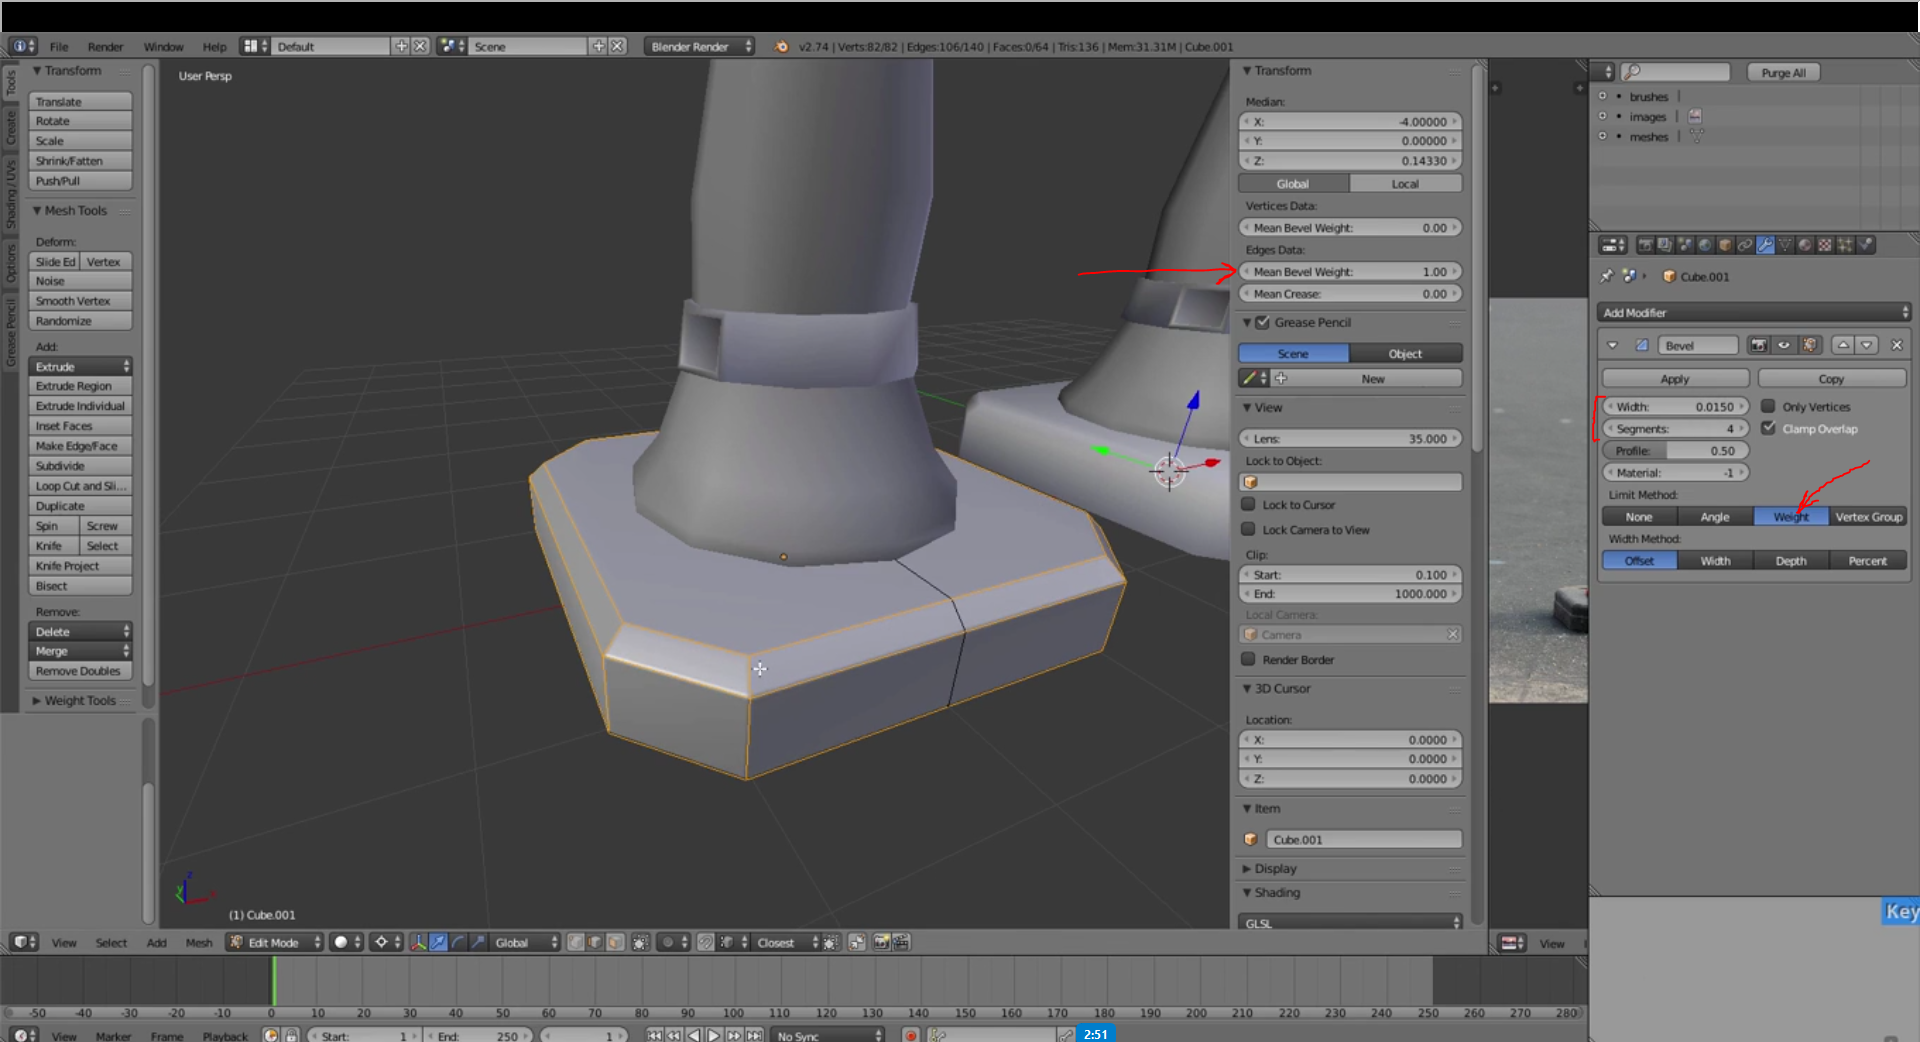
- 2.8:
- 2.7:
Removing n-gons
- Selecting n-gons
- Select menu > Select all by trait > Select faces by sides
- Removing them
- Add faces and edges between vertex [ j ]
- Generate center vertex and faces [ alt + p ]
Exporting
Textures
Texture Padding - Dilation
-
If you worked with Substance Painter be sure to enable Infinite Padding Generation to avoid artifacts when the Game Engine generates Mipmaps.


-
If you worked with open source software, there is an alternative that generates a similar effect:
-
Save as an image and open it up on Gimp. Use UVPadder to fill empty spaces in the texture.
- UVPadder for Gimp Original Forum Post
- Download UVPadder and see instructions on readme.txt.
- It works with Windows and Linux, there is the source that you can use to compile for other OS.
-
-
If the method doesn’t work, you can at least fill your empty space of the texture with a common color to avoid highly visible artifacts. For example see this image took from the following video of JDGameArt:

Full video with a discussion regarding this topic:
Models
-
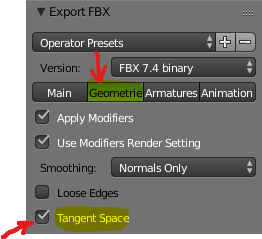
For both Blender 2.8 or 2.7, keep the default settings and check Tangent Space option in the Geometries tab of the FBX exporter.
Animations and Rigs:
Please refer to this tools:
Blender to Unreal tools
Mr. Manequinns Tools
Mixamo
You may want to check this tool to enable Auto Retargeting, so your Mixamo Characters are compatible with UE4 Skeletons.
Auto Rig Pro (PAID)
Equilaterus (CC-BY) 2018 - 2022.